Monday, February 27, 2012

New Blogger Shoutout...

I know pretty much the only people who look at my blog are my friends who are mostly just hungry, but if any of you are interested in checking out different kinds of blogs, my friend Kerri just started Kerri's Claws, where she plans on blogging everything beauty related (mainly nail polish). She's pretty much pro at nail painting, so if you're interested, check it out! She only has an introductory post up so far but I encourage anyone interested to follow it--I'm sure she'll be posting cool stuff soon!

A few summers ago, she even water marbled my nails:

White Chocolate Macadamia Nut Cookies (again!)

Yes, I've made these before. But I made them again. To stress the importance of how good these are.

This time I used a dark brown sugar because that's all I had, and salted macadamia nuts because that was also all I had, and I didn't increase the quality of the white chocolate chips and there were definitely a lot of them. But either way, they were just as good as the ones I made last year, so make these! This year I made them for my friend Sophie's birthday and they are so good!


Friday, February 24, 2012

Banana Cake that you HAVE to make!

If you can, please make this, right now. It's a cake that comes together VERY easily. I made this for my birthday party on the 10th. I'd been planning on making this cake for months, actually, but I didn't know that this cake would be as amazing as it was. I'm used to making chocolate cakes for my friends, and so I chose to make myself a banana cake for my birthday, because I don't really like chocolate cake. So I picked this recipe out because it seemed like an easy choice. I wanted to make a small cake in case people didn't like it (my mom ended up buying me a second cake...so people could have Red Velvet (delicious) if they didn't like banana). Everybody loved it.

I made a few changes to the original frosting recipe. I doubled it so that I could remove the cake from the pan (I took it out of the pan about a half-hour after I took it out of the oven, and poured the batter into a pan lined with parchment paper to make that easy--I also used a 9-in square pan), and instead of using vanilla extract or vanilla bean paste or doubling the vanilla at all, I replaced that with the seeds of one vanilla bean, which made it taste absolutely amazing. It was really sweet and complemented the banana cake perfectly--well, at least I think so. Yum! Don't hesitate to make this!


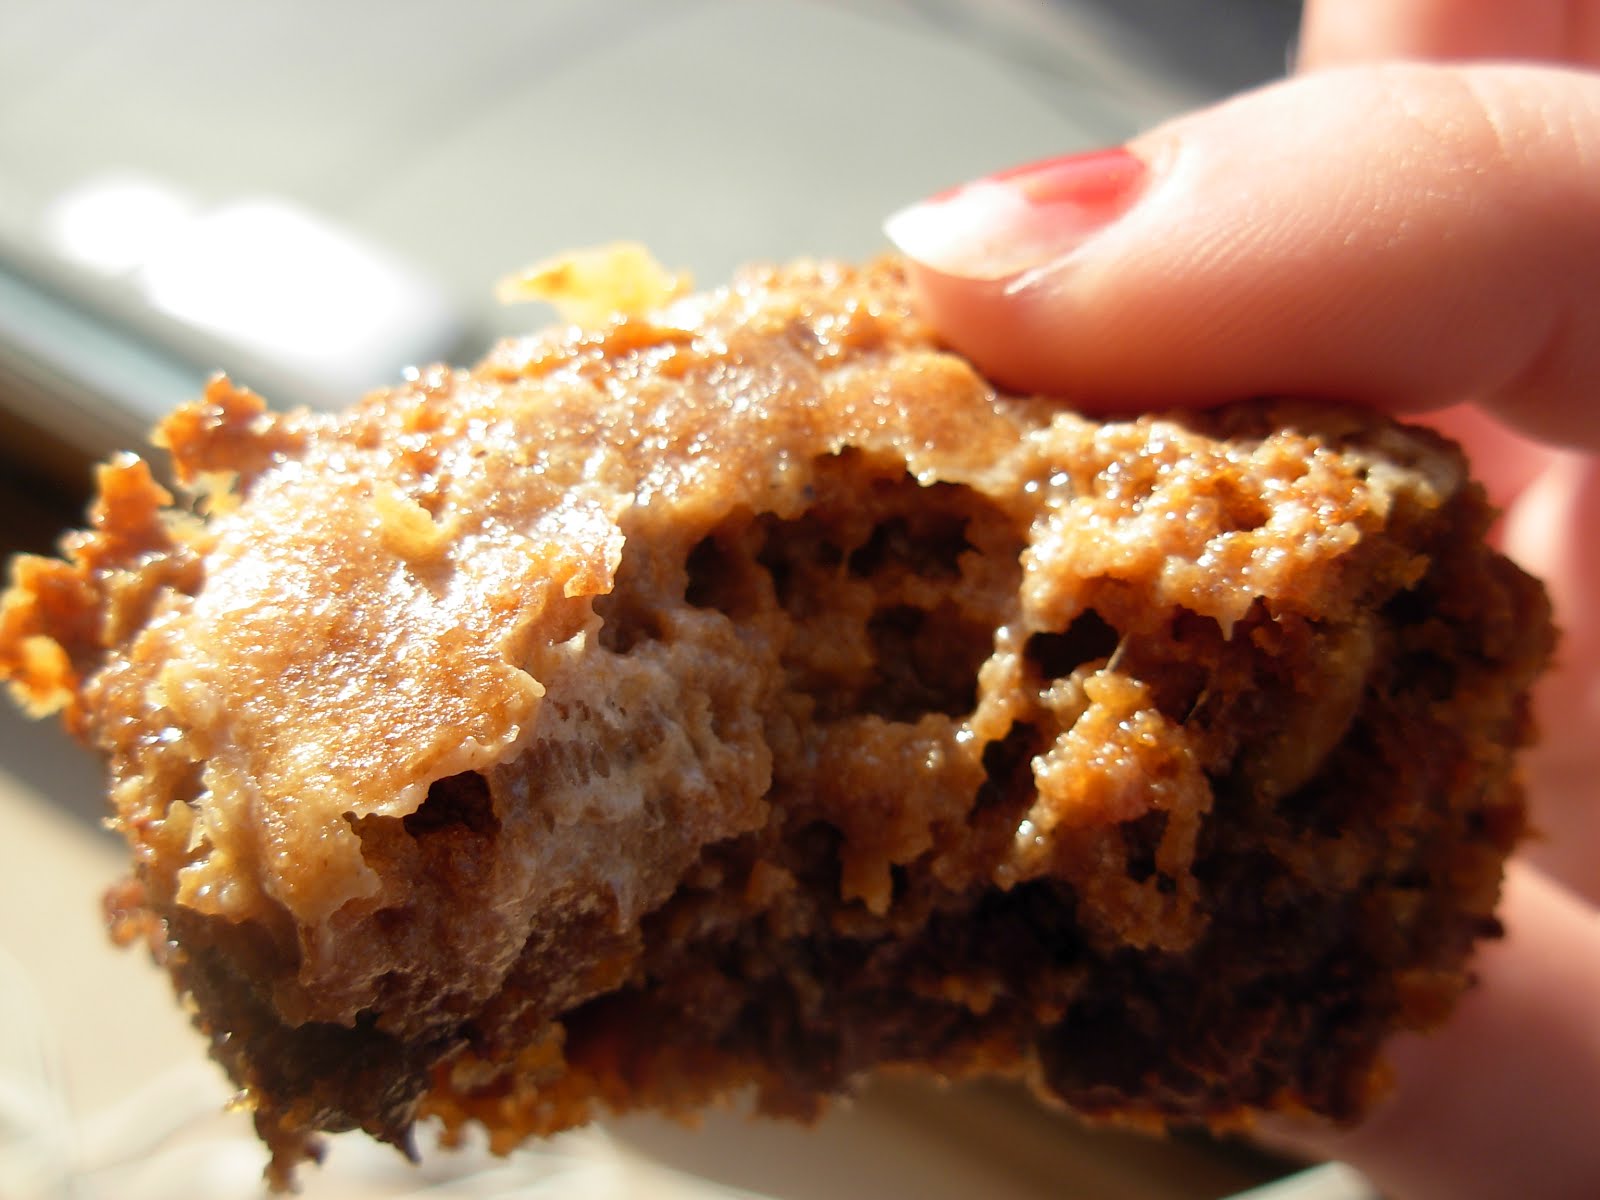
Banana Cake with Vanilla Bean Frosting
Recipe from ButterYum
Frosting Recipe adapted by me

Cake:
2/3 cup sugar
1/2 cup sour cream
1 egg
2 tablespoons butter, softened
2 mashed super ripe bananas (about 3/4 cup)
1 teaspoon pure vanilla extract
1 cup flour
1/4 teaspoon salt
1/2 teaspoon baking soda

Frosting:
4 tablespoons butter, softened
1/2 cup heavy cream
Seeds of one vanilla bean
3 cups confectioner's sugar

To make cake (easily mixed by hand):
Preheat the oven to 375F (see note below). Cream together sugar, sour cream, egg, and 2 tablespoons softened butter. Add mashed bananas and 1 teaspoon vanilla extract. Add flour, salt, and baking soda; mix well. Pour into greased pan. Bake at 375F for 20-25 minutes until a toothpick inserted in the center comes out clean. Cool completely before frosting.

To make frosting:
Cream butter and confectioner's sugar together until smooth. Slowly add the heavy cream; stir until smooth. Stir in the vanilla bean paste until fully incorporated. Spread on cooled cake.

Note - Bake at 350F if using a glass pan. Recipe doubles well (9x13 pan).

Tuesday, February 21, 2012

Yellow Cake with Chocolate Buttercream Frosting and Mousse Filling

I can't remember what book this recipe is from, but I made it for my mom's bookgroup get-together. It's a pretty basic yellow cake with pretty basic chocolate buttercream, and then because I wanted to use my new cake pan (which you can buy on Amazon), I made a basic mousse center. It was pretty good!


Friday, February 17, 2012

Nutella Thumbprint Cookies

I didn't get to try any of these either! You can probably tell we had a lot of nutella when I was at home this winter...I made these for, not my mom's this time, but my dad's work. They finished it all so they must have been good! I can't imagine they wouldn't be...basically a chocolate chip thumbprint cookie base with nutella swirled in the middle? Mmm. These were easy to make, too!


Nutella Thumbprint Cookies
Recipe from Eyes Bigger than my Stomach

1/2 cup butter
1/2 cup brown sugar
1 large yolk
1/4 tsp salt
1 tsp vanilla
1 cup plus 2tbsp flour
1/3 cup chopped chocolate
Nutella for filling

Cream butter and sugar until fluffy

Add egg yolk, vanilla, salt and mix

Add flour and beat on low speed

Add chocolate

At this point, you can freeze the dough for up to a month if you want

Form dough into balls

Place on parchment paper or a silpat baking sheet

Make a “thumbprint” depression and fill with Nutella

Place in freezer for 15 minutes

Bake at 350 for 12-15 minutes

Monday, February 13, 2012

Peanut Butter Nutella Cookies

While I was still at home, I made these for my mom to take to work. I didn't try any but apparently they were a big hit! The nutella was hard to mix in, though. I think I added more than the recipe called for, and some cookies got more nutella than others. The nutella also made it hard to do the criss-cross fork pattern...but other than that they were pretty easy to make!


Peanut Butter Nutella Cookies
Recipe from Delightful Bitefuls
Found on Lovin' in the Oven

1/2 cup unsalted butter, softened
3/4 cup smooth peanut butter
1/2 cup white sugar
1/2 cup packed brown sugar
1 egg
1/2 teaspoon vanilla extract
3/4 teaspoon baking soda
1/4 teaspoon salt
1 3/4 cups all-purpose flour
Approx. 1/4 cup Nutella

Preheat oven to 350° F.

Cream together butter, peanut butter, sugars, egg, and vanilla. Gradually add the flour, baking soda and salt. Drizzle Nutella on top of the dough then swirl it through the dough with a butter knife.

Refrigerate the dough for 15 minutes. Roll the dough into tablespoon sized balls and use a fork to gently flatten the balls and create a criss-cross pattern. P

Bake for 7-10 minutes.

Friday, February 10, 2012

Almond Joy Cookies

Some of my friends liked these, but I thought they were a little too dark-chocolate for my taste...I didn't get the flavor of almonds or coconut. I don't think I'll make these again but they were fine if you like dark chocolate. I guess they just didn't do well against the other two chocolate cookies that I made as part of the four batches of cookies I made for my friends before winter break!


Almond Joy Cookies
Recipe from Can you Stay for Dinner?

6 ounces unsweetened chocolate, chopped
4 tablespoons unsalted butter
1/4 cup flour
1/4 teaspoon baking powder
1/4 teaspoon salt
2 large eggs
1 1/3 cups sugar
2 teaspoons vanilla extract
1/2 cup chopped almonds
1 cup sweetened, flaked coconut

Whisk flour, baking powder, and salt in a bowl. Set it aside.

In a small bowl, microwave the chopped chocolate and butter for 1 minute at high power. Stir and continue to microwave at 15 second intervals until the mixture has melted. Be careful not to burn your chocolate.

In a large bowl, beat eggs with sugar and vanilla until well blended, about 3 minutes. Stir in melted chocolate mixture. Scrape down the sides of the bowl to mix well. Stir in flour mixture. The dough will be thick. Add chopped almonds and coconut and stir to incorporate.

Cover the dough and refrigerate it for 30 minutes. This will allow it to firm up and rest, for a chewier cookie center.

Preheat the oven to 350 degrees F. Line two cookie sheets with parchment paper and set aside. Shape the dough into balls roughly 2 tablespoons in size. Roll them between your palms and flatten them slightly with your fingertips. Space two inches apart on the baking sheet and bake for 8-10 minutes, until they’ve puffed and begun to look dry and cracked on top. Remove to cool on a wire rack.

Monday, February 6, 2012

Marshmallow Bars

I made these bars as one of the four batches of cookies I made for my friends before winter break. I think my friends liked them a lot more than I did, which was good--they were definitely different. They were also the only not-as-chocolaty cookie that I made for my friends...I would have made fewer chocolate cookies but didn't have the right ingredients for anything I felt like making, haha. These were really easy!


Marshmallow Bars
Recipe from Allrecipes

1 cup shortening
3/4 cup sugar
3/4 cup packed brown sugar
2 eggs
1 teaspoon vanilla extract
2 1/4 cups all-purpose flour
1 teaspoon baking soda
1 teaspoon salt
2 cups miniature marshmallows
1 1/2 cups semisweet chocolate chips
3/4 cup chopped walnuts

In a mixing bowl, cream shortening and sugars. Add eggs, one at a time, beating well after each addition. Beat in vanilla.

Combine the flour, baking soda and salt; gradually add to creamed mixture. Stir in marshmallows, chips and walnuts.

Spread into a greased 13-in. x 9-in. x 2-in. baking pan. Bake at 350 degrees F for 25-30 minutes or until golden brown.

Cool on a wire rack. Cut into bars.

Sunday, February 5, 2012

Moosewood Vegan Chocolate Cake

I still have things I baked over winter break, but I'm leaving those for a bit to make a post about this cake I made for my roommate Lucy on her 22nd birthday late January. We went to Moosewood Cafe a few months ago and loved their cake, so I tried to find the recipe to make it on my own. It was pretty easy--not perfect, and I think it would have gone best in a 9-in square pan instead of the 9-in circular pan the recipe calls for because the glaze kind of spilled over, but it was a good cake. It's best eaten the day-of.

Because the recipe is in the Moosewood Restaurant Book of Desserts, you can find the recipe reprinted here: Moosewood Cooks.


Friday, February 3, 2012

Chocolate Truffle Cookies

Long time no post! Sorry--Winter break came around and I got really busy, things happened, and suffice to say I got really distracted from posting on this blog. But I do have a lot of new recipes to post now! I didn't bake too much, but I have 8 recipes to share, and planning on trying a new recipe next week.

Right before I left for Winter Break I made four batches of cookies in one day, separated them onto foiled pieces of cardboard, and delivered them to a lot of college friends. I tried three new recipes (this is one of them) and then Chocolate Crinkle Cookies which I made last year.

Here are the Chocolate Truffle Cookies! I think I liked these best of the four I made (the other two I'll post about later!). The original recipe suggests I cover them in powdered sugar but they were already pretty sweet so I kept them plain. Maybe not the prettiest cookies, but they definitely melt in your mouth and taste like truffles!


Chocolate Truffle Cookies
Recipe adapted by What Megan's Making from Baking Bites

1 1/4 cups butter, room temperature
2 cups confectioners’ sugar
1/3 cup unsweetened cocoa powder
1/4 tsp salt
1/4 cup sour cream
1 tsp vanilla extract
2 1/4 cups all purpose flour
2 cups chocolate chips
approx. 1/3 cup cocoa powder (for rolling)
approx. 2/3 cup confectioners’ sugar (for rolling) (I didn't add this)

Preheat oven to 325F. Line a baking sheet with parchment paper.

In a large bowl, cream together butter and sugar. Sift in cocoa powder and salt, and mix well. Beat in sour cream and vanilla extract. With the mixer on low, blend in flour. Stir in chocolate chips.

Shape the dough into 1-inch balls and roll in the cocoa powder and place on baking sheet. (If the dough is hard to handle, refrigerate the dough for 30-60 minutes before shaping the cookies.) Bake for 10 minutes or until cookies are just barely set. Let cool on baking sheet for 3-5 minutes, then transfer to a wire rack to cool completely.

When cookies have reached room temperature, after about 30-45 minutes, roll in powdered sugar until completely coated (I didn't think it was necessary). Store in an airtight container.