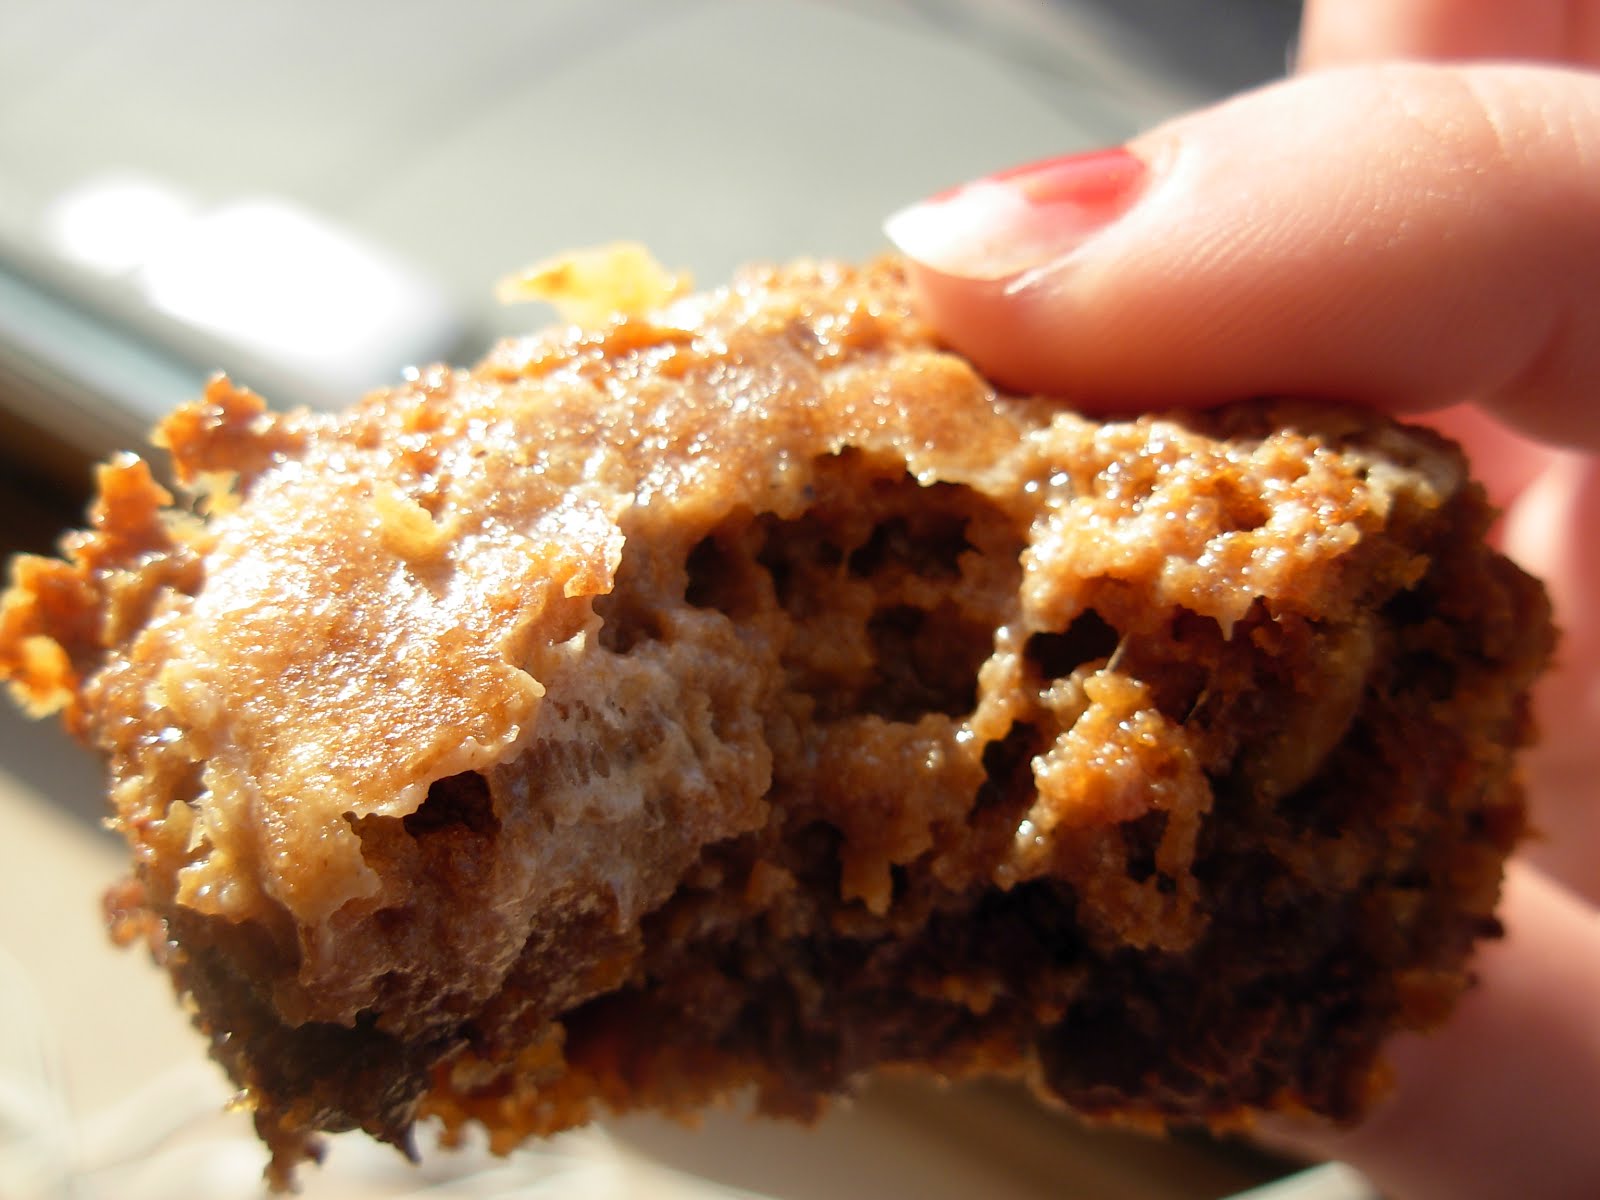
Friday, February 10, 2012

Almond Joy Cookies

Some of my friends liked these, but I thought they were a little too dark-chocolate for my taste...I didn't get the flavor of almonds or coconut. I don't think I'll make these again but they were fine if you like dark chocolate. I guess they just didn't do well against the other two chocolate cookies that I made as part of the four batches of cookies I made for my friends before winter break!


Almond Joy Cookies
Recipe from Can you Stay for Dinner?

6 ounces unsweetened chocolate, chopped
4 tablespoons unsalted butter
1/4 cup flour
1/4 teaspoon baking powder
1/4 teaspoon salt
2 large eggs
1 1/3 cups sugar
2 teaspoons vanilla extract
1/2 cup chopped almonds
1 cup sweetened, flaked coconut

Whisk flour, baking powder, and salt in a bowl. Set it aside.

In a small bowl, microwave the chopped chocolate and butter for 1 minute at high power. Stir and continue to microwave at 15 second intervals until the mixture has melted. Be careful not to burn your chocolate.

In a large bowl, beat eggs with sugar and vanilla until well blended, about 3 minutes. Stir in melted chocolate mixture. Scrape down the sides of the bowl to mix well. Stir in flour mixture. The dough will be thick. Add chopped almonds and coconut and stir to incorporate.

Cover the dough and refrigerate it for 30 minutes. This will allow it to firm up and rest, for a chewier cookie center.

Preheat the oven to 350 degrees F. Line two cookie sheets with parchment paper and set aside. Shape the dough into balls roughly 2 tablespoons in size. Roll them between your palms and flatten them slightly with your fingertips. Space two inches apart on the baking sheet and bake for 8-10 minutes, until they’ve puffed and begun to look dry and cracked on top. Remove to cool on a wire rack.

Monday, February 6, 2012

Marshmallow Bars

I made these bars as one of the four batches of cookies I made for my friends before winter break. I think my friends liked them a lot more than I did, which was good--they were definitely different. They were also the only not-as-chocolaty cookie that I made for my friends...I would have made fewer chocolate cookies but didn't have the right ingredients for anything I felt like making, haha. These were really easy!


Marshmallow Bars
Recipe from Allrecipes

1 cup shortening
3/4 cup sugar
3/4 cup packed brown sugar
2 eggs
1 teaspoon vanilla extract
2 1/4 cups all-purpose flour
1 teaspoon baking soda
1 teaspoon salt
2 cups miniature marshmallows
1 1/2 cups semisweet chocolate chips
3/4 cup chopped walnuts

In a mixing bowl, cream shortening and sugars. Add eggs, one at a time, beating well after each addition. Beat in vanilla.

Combine the flour, baking soda and salt; gradually add to creamed mixture. Stir in marshmallows, chips and walnuts.

Spread into a greased 13-in. x 9-in. x 2-in. baking pan. Bake at 350 degrees F for 25-30 minutes or until golden brown.

Cool on a wire rack. Cut into bars.

Sunday, February 5, 2012

Moosewood Vegan Chocolate Cake

I still have things I baked over winter break, but I'm leaving those for a bit to make a post about this cake I made for my roommate Lucy on her 22nd birthday late January. We went to Moosewood Cafe a few months ago and loved their cake, so I tried to find the recipe to make it on my own. It was pretty easy--not perfect, and I think it would have gone best in a 9-in square pan instead of the 9-in circular pan the recipe calls for because the glaze kind of spilled over, but it was a good cake. It's best eaten the day-of.

Because the recipe is in the Moosewood Restaurant Book of Desserts, you can find the recipe reprinted here: Moosewood Cooks.


Friday, February 3, 2012

Chocolate Truffle Cookies

Long time no post! Sorry--Winter break came around and I got really busy, things happened, and suffice to say I got really distracted from posting on this blog. But I do have a lot of new recipes to post now! I didn't bake too much, but I have 8 recipes to share, and planning on trying a new recipe next week.

Right before I left for Winter Break I made four batches of cookies in one day, separated them onto foiled pieces of cardboard, and delivered them to a lot of college friends. I tried three new recipes (this is one of them) and then Chocolate Crinkle Cookies which I made last year.

Here are the Chocolate Truffle Cookies! I think I liked these best of the four I made (the other two I'll post about later!). The original recipe suggests I cover them in powdered sugar but they were already pretty sweet so I kept them plain. Maybe not the prettiest cookies, but they definitely melt in your mouth and taste like truffles!


Chocolate Truffle Cookies
Recipe adapted by What Megan's Making from Baking Bites

1 1/4 cups butter, room temperature
2 cups confectioners’ sugar
1/3 cup unsweetened cocoa powder
1/4 tsp salt
1/4 cup sour cream
1 tsp vanilla extract
2 1/4 cups all purpose flour
2 cups chocolate chips
approx. 1/3 cup cocoa powder (for rolling)
approx. 2/3 cup confectioners’ sugar (for rolling) (I didn't add this)

Preheat oven to 325F. Line a baking sheet with parchment paper.

In a large bowl, cream together butter and sugar. Sift in cocoa powder and salt, and mix well. Beat in sour cream and vanilla extract. With the mixer on low, blend in flour. Stir in chocolate chips.

Shape the dough into 1-inch balls and roll in the cocoa powder and place on baking sheet. (If the dough is hard to handle, refrigerate the dough for 30-60 minutes before shaping the cookies.) Bake for 10 minutes or until cookies are just barely set. Let cool on baking sheet for 3-5 minutes, then transfer to a wire rack to cool completely.

When cookies have reached room temperature, after about 30-45 minutes, roll in powdered sugar until completely coated (I didn't think it was necessary). Store in an airtight container.

Sunday, December 18, 2011

Coca Cola Cake

This cake was so ugly I was embarrassed that I was bringing it to my friend's birthday party. Don't look. It's ugly. But it was GOOD. It was so so so good. I brought it for a friend (obviously turning 21--I kinda stuck that on with a plastic bag, which is why I didn't go in detail with his name or anything since it was hard enough to get the pink frosting out to write a number) who loves soda, so I figured a Coke cake would be good. It didn't really taste like coke, but it was really really good. People thought it was delicious albeit a little sweet. I might not ever make this cake again (because it turned out so ugly! Maybe cuz I didn't garnish it with nuts?), but it was definitely good!


Coca Cola Cake
Recipe from Southern Living

1 cup Coca-Cola
1/2 cup buttermilk
1 cup butter or margarine, softened
1 3/4 cups sugar
2 large eggs, lightly beaten
2 teaspoons vanilla extract
2 cups all-purpose flour
1/4 cup cocoa
1 teaspoon baking soda
1 1/2 cups miniature marshmallows
Coca-Cola Frosting
Garnish: 3/4 cup chopped pecans, toasted

Combine Coca-Cola and buttermilk; set aside.

Beat butter at low speed with an electric mixer until creamy. Gradually add sugar; beat until blended. Add egg and vanilla; beat at low speed until blended.

Combine flour, cocoa, and soda. Add to butter mixture alternately with cola mixture; begin and end with flour mixture. Beat at low speed just until blended.

Stir in marshmallows. Pour batter into a greased and floured 13- x 9-inch pan. Bake at 350° for 30 to 35 minutes. Remove from oven; cool 10 minutes. Pour Coca-Cola Frosting over warm cake; garnish, if desired.

Note: Don't make the frosting ahead--you need to pour it over the cake shortly after baking.

Friday, December 16, 2011

Chocolate-Pumpkin Layered Brownies


I've made these before. You can find the recipe here. I just want to emphasize HOW. AMAZING. THESE. ARE. You should make them, right now. You don't need an occasion. They are just too good. I made these to use up the rest of my pumpkin after making the pumpkin pie for Thanksgiving...in order to not eat the whole batch, I quickly had people come over to eat some and then brought the rest to one of my friends.

Tuesday, December 13, 2011

Pumpkin Pie

This is wayyy late, I know. I made this for Thanksgiving alongside the Cornbread Muffins I made last year. I really liked the pie filling, but I wasn't so big on the crust. If I made this again, I'd use a different crust recipe. But the filling was great and really easy! I served the pie with homemade whipped cream, and made the pie a day ahead. You can store it at room-temperature.


Pumpkin Pie
Recipe from The New Best Recipe, found here

1 1/4 cups all-purpose flour
1/2 teaspoon salt
1 tablespoon sugar
3 tablespoons vegetable shortening, chilled
4 tablespoons cold unsalted butter, diced
4 to 5 tablespoons ice water

For the Pie Filling:
2 cups canned pumpkin puree (not canned pumpkin pie filling)
1 cup packed dark brown sugar
2 teaspoons ground ginger*
2 teaspoons ground cinnamon*
1/8 teaspoon ground nutmeg*
1/4 teaspoon ground cloves*
*(Alternatively, use 2 tablespoons homemade pumpkin pie spice)
1/2 teaspoon salt
2/3 cup heavy cream
2/3 cup milk
4 large eggs

For the Pie Crust:
Place the flour, salt and sugar in a food processor and process until combined. Add the shortening and process until the mixture is the texture of coarse sand, about 10 seconds. Drop the butter pieces into the machine and process again until the mixture resembles coarse crumbs, with butter bits no large than small peas, about ten 1-second pulses. Transfer to a medium bowl.

Fold 4 tablespoons of the ice water into the flour mixture. Combine just until a dough forms. Add another tablespoon of ice water if needed. Flatten dough into a 4-inch disk, wrap in plastic and refrigerate for at least 1 hour or up to 2 days.

Remove the refrigerator (if refrigerated more than 1 hour, allow to stand on the counter top until malleable). Working on a lightly floured work surface, roll the dough to a 12-inch circle. Transfer the dough to a 9-inch pie plate by rolling the dough around the rolling pin and unrolling it over the pan. Lightly press the dough into the pan corners. Trim the dough edges to extend about 1/2 inch beyond the rim of the pan. Fold the overhang under and flute the dough edges using the index finger of one hand the the thumb and index finger of the other. Refrigerate until firm, about 40 minutes, then freeze until very cold, about 20 minutes.

Adjust an oven rack to the lower-middle position and heat the oven to 375 degrees. Remove the pie dough from the freezer and press a doubled 12-inch piece of heavy-duty foil inside the pie shell. Fold the edges of the foil to shield the fluted edge. Distribute 2 cups ceramic or metal pie weights (or dry rice) over the foil. Bake until the dough looks dry and is light in color, 25 to 30 minutes. (Meanwhile, prepare the Pie Filling by following the instructions below.) After the pie shell bakes 25 to 30 minutes, carefully remove the foil and weights, then continue baking until light golden brown, 5 to 6 minutes.

For the Pie Filling:
While the crust is baking, prepare the pie filling. Process the pumpkin puree, brown sugar, spices, and salt in a food processor for 1 minute until combined. Transfer the mixture to a large saucepan. Bring it to a sputtering simmer over medium-high heat. Cook, stirring constantly, until thick and shiny, about 5 minutes.

As soon as the pie shell comes out of the oven, adjust an oven rack to the lowest position and increase the oven temperature to 400 degrees. Whisk the heavy cream and milk into the saucepan and bring to a bare simmer. Process the eggs in a food processor until the whites and yolks are combined, about 5 seconds. With the motor running, slowly pour about half of the hot pumpkin mixture through the feed tube. Stop the machine and add the remaining pumpkin mixture. Process 30 seconds longer.

Immediately pour the warm filling into the hot pie crust. Bake the pie until the filling is puffed, dry-looking, and lightly cracked around the edges, about 30 minutes. Cool on a wire rack for at least 1 hour.

Serve warm, at room temperature, or chilled. Top with whipped cream, if desired.

Sunday, December 11, 2011

Black-Bottom Coconut Bars

Sorry for taking so long! I actually made these with a friend the week before Thanksgiving, so....a while ago. I guess I've been slacking off a little. These were really good, I think probably better the day after, but still deliciousss. They were also really easy--I definitely want to try making these again!


Black-Bottom Coconut Bars
By Martha Stewart, found here

FOR CHOCOLATE BASE:
1/2 cup (1 stick) unsalted butter, plus more for pan
1/2 cup sugar
1/4 teaspoon salt
1 large egg
1/4 cup unsweetened cocoa powder
1/4 cup all-purpose flour (spooned and leveled)

FOR COCONUT TOPPING:
2 large eggs
3/4 cup sugar
1/2 teaspoon vanilla extract
1 cup all-purpose flour (spooned and leveled)
1 package sweetened shredded coconut (7 ounces), 1/2 cup reserved for sprinkling

For chocolate base: Preheat oven to 375 degrees. Line a 9-inch square baking pan with aluminum foil, leaving a slight overhang; butter bottom and sides of foil (not overhang).

Place butter in a large microwave-safe bowl; melt in microwave. Add sugar and salt; whisk to combine. Whisk in egg, then cocoa and flour until smooth. Spread batter in prepared pan.

Bake just until sides begin to pull away from edges of pan, 10 to 15 minutes (do not overbake). Let cool slightly while preparing coconut topping. Keep oven on for topping.

For coconut topping: In a medium bowl, whisk eggs with sugar and vanilla. Gently mix in flour and coconut (except 1/2 cup reserved for sprinkling).

Drop mounds of mixture over chocolate base; spread and pat in gently and evenly with moistened fingers. Sprinkle with reserved 1/2 cup coconut.

Bake until golden and a toothpick inserted in center comes out with moist crumbs attached, 25 to 30 minutes. Cool completely in pan. Lift cake from pan, peel off foil, and cut into 24 bars. Store in an airtight container 3 to 4 days.

Saturday, November 19, 2011

Chocolate Cake with Cream Cheese Frosting

On the 11th was my friend's birthday, so the night before I made this cake for her birthday party. I wanted something easy that I had ingredients for or could easily get ingredients for, and this worked!

I used the same recipe for the cake as I did here except that I only used 2 layers. I still baked it for 30-35 minutes and it worked fine. I also used parchment paper which is a MUST. But everything else for that cake is the same--it's probably my favorite chocolate cake recipe now.

For the cream cheese frosting, I was originally going to make a red velvet cake for her but then the convenience store didn't have red food coloring, but I still stuck with a cream cheese frosting since I had all the ingredients for that. The cream cheese frosting recipe I tried was a new one, posted below. It was really great and I think it complemented the cake nicely...although I didn't eat the cake...so somebody who did get to try it should comment and let me know! It had a stronger cream cheese flavor than my other favorite used with these cupcakes. Ignore the lettering for her name--I didn't have food coloring so I just added some cocoa and was trying to rush so it looks ugly. That doesn't matter, because the taste was all that counted!


Cream Cheese Frosting
Recipe from Pinch My Salt

16 oz. cream cheese (2 packages), softened
1/2 cup unsalted butter (one stick), softened
1 teaspoon vanilla extract
2 1/2 cups powdered sugar, sifted
pinch of salt

With an electric mixer, blend together cream cheese and butter until smooth. Turn mixer to low speed and blend in powdered sugar, salt and vanilla extract. Turn mixer on high and beat until light and fluffy. Use immediately or refrigerate, covered, until ready to use. If refrigerated, the frosting will need to be brought to room temperature before using (after frosting softens up, beat with mixer until smooth).

Friday, November 11, 2011

Lemon Coconut Bars

I was really scared when making this recipe because I wasn't sure what it was supposed to look like. The color seemed a little uneven when it came out and some of them tasted a little too much like flour, but I don't know if that was all in my head, because these were a hit! I feel like I'd want to change them around a little bit but people really liked them. Very lemony--I'd like a little more coconut flavor, which seemed more prominent when they were just baked other than after being refrigerated, but overall they were good and super easy to make!


Lemon Coconut Bars
Recipe From My Baking Addiction

1 1/2 cups all-purpose flour
1/2 cup confectioners’ sugar
3/4 cup cold butter or margarine
4 eggs
1 1/2 cups sugar
1/2 cup lemon juice
1 teaspoon baking powder
1 cup flaked coconut

Preheat oven to 350 degrees and line a 9 x 13 x 2 inch pan with foil or parchment paper and spray with non-stick cooking spray.

In a bowl, combine flour and confectioners’ sugar; cut in the butter until crumbly (I used my food processor and pulsed the ingredients until thoroughly combined).

Press into the bottom of a lightly greased 13-in. x 9-in. x 2-in. baking pan. Bake at 350 degrees F for 15 minutes.

Meanwhile, in a mixing bowl, beat the eggs, sugar, lemon juice and baking powder until well mixed. Pour over crust; sprinkle coconut evenly over the top.

Bake at 350 degrees F for 20-25 minutes or until golden brown.

Cool on a wire rack. Cut into bars.